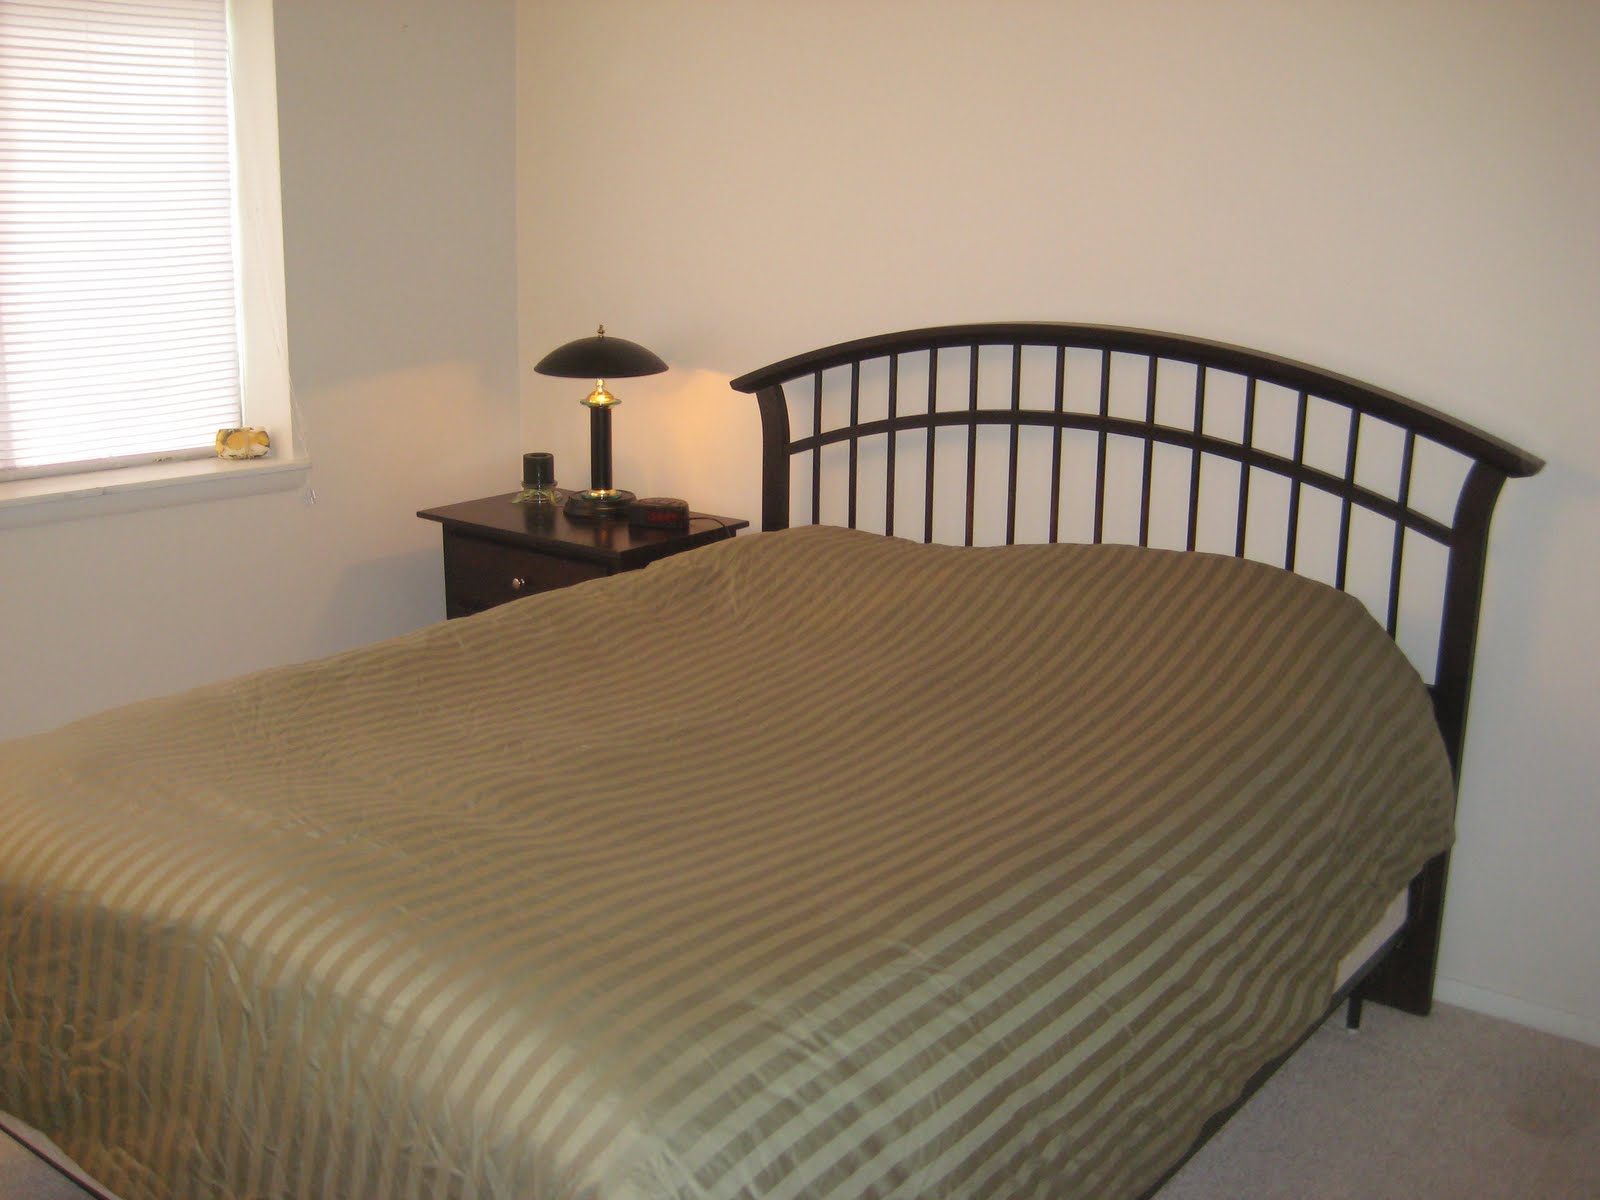
Remember back in the summer when I was on a mission to transform our office (read that post here)? Well I got about 60% done and then school started. We are hosting our first house guest this week so it got us back in business. JD went through a lot of boxes and reorganized the closet to accommodate a lot more storage. We are almost done. Just need to a few things. So here is a sneak peak.
Hopefully I'll be back with the whole reveal by the end of the week.
Showing posts with label Before and After. Show all posts
Sunday, November 4, 2012
Sunday, February 5, 2012
project reveal: wood artwork
I'm back with all the details on our latest project. We made some artwork. It's rustic. colorful. personal. and we love it.
Bare with me--point and shoot camera + bad lighting=not the best pictures. You'll get the point but will have to trust me it looks sweeet in person. I edited the top photo for fun, but the rest are unedited and display the true colors. You may not be able to tell but this sign is huge. It's 40" by 28."
The hardest part was deciding what words we wanted to display. We contemplated for a while...a Bible verse? a meaningful quote? but in the end realized we wanted something simple and big, and 'douglas duo' seemed to fit the bill.
Now for the tutorial. I got the idea and step-by-step process from here. Thanks, Ashley! We did change a few things and have a few pointers of our own to share.
Day 1: We put a rectangle of painters tape above the sofa to get an idea of how big we wanted the sign to be. Then I was off to Home Depot with measurements. I had them cut it for me. I needed 7 pieces of wood 40 inches long and when all put together 28 inches high.
I then laid two thin pieces of wood along the back (and actually added two more pieces, vertically on the sides) to attach all 7 pieces. Then took it outside for coat 1 of stain. I used this stain, Early American finish.
Then day 2, took it back outside and applied another thin coat of stain
Since I was home again from work on Monday, I kept trucking along. After debating on which font we liked, we printed the letters out and had it enlarged (4 times) at Staples. It was actually pretty cheap, $4.99. It looked pretty big in the store so just in case we got another one printed (3 times as large). We actually used the bigger letters. It was huge, just look at the tape measure for a comparison.
Next, we cut out the letters and once they were in place, we traced them onto the wood.
Next came the most tedious aspect of the entire project...cutting the letters out of painter's tape.
We found it easiest to retrace the letter onto the tape so the tape matched the letter perfectly. But of course the tape was thin, so each letter was done in sections. Again let me say, time consuming. It took probably about 2 hours.
Then, we painted over the entire thing. I painted in between the cracks because I wanted to see the separate planks of wood. It did make me nervous to cover that pretty wood, but in the end it was worth it. Side note: we did use oil-based stain and latex paint on top and it adhered fine. Take that man at Home Depot who tried to convince me otherwise.
Some paint did sneak through the cracks of the tape. After the paint was dry, we went back with an exacto knife to create the clean line of the letters.
Last step, attach a picture hanging kit (we bought one that said sturdy and held up to 25 pounds). Our sign weighed 14 pounds.
Step back and marvel at your work. We're proud of this beauty.
Here's was our timeline:
Day 1: Purchase materials, assemble and apply 1st coat of stain
Day 2: Apply 2nd coat of stain
Day 3: Cut out letters, trace onto wood, trace and cut out "tape letters"
Day 4: Paint and remove letters
Day 5: Scrape off excess paint
Day 6: Hang and Enjoy
Oh and the best part, the price. After purchasing all the supplies, the hanging kit, paying for the enlargements it was about $50.00.
It nicely ties in both sides of the room. Remember my new print across the room?
If you decide to tackle this project and have any questions just send me an e-mail.
Saturday, August 13, 2011
I made a desk
I made a piece of real furniture. It's funny to actually say type that. But it's true, with my expert handy man dad on deck we hammered, glued, drilled, painted (and glazed) our way through Anna White's parsons desk tutorial to end up with this beauty...

Have you heard of Anna White? She's awesome. Instead of paying a fortune for furniture from stores like Crate & Barrel or Pottery Barn she makes them herself and provides step-by-step instructions for people like me. The desk I made is similar to the parsons desk from West Elm [found here].
It all started with a stack of wood...
We did all the construction in Pennsylvania which took about 4 hours and the final assembly and painting in Maryland.
And just because I love a good before and after photo...
The cost for all the wood was $120.00 compared to the $299.00 price tag of the original West Elm desk.
I love the end result. All the hard work and paint stains on the carpet was worth it. Nothing like lifting the drop cloth at 11 pm to find that some of the paint bled through. What did I do you ask?Freak out, panic, utter lots of apologies, scrub the floor for hours, cut the carpet, consult professionals Tell myself it's okay and live and learn. DIY is just that. Do. It. Yourself. which leaves much more room for error.
Anyway, I made a desk and for that I'm proud.
Have you heard of Anna White? She's awesome. Instead of paying a fortune for furniture from stores like Crate & Barrel or Pottery Barn she makes them herself and provides step-by-step instructions for people like me. The desk I made is similar to the parsons desk from West Elm [found here].
It all started with a stack of wood...
We did all the construction in Pennsylvania which took about 4 hours and the final assembly and painting in Maryland.
And just because I love a good before and after photo...
The cost for all the wood was $120.00 compared to the $299.00 price tag of the original West Elm desk.
I love the end result. All the hard work and paint stains on the carpet was worth it. Nothing like lifting the drop cloth at 11 pm to find that some of the paint bled through. What did I do you ask?
Anyway, I made a desk and for that I'm proud.
Thursday, January 27, 2011
Bedroom Reveal
I've been working on our bedroom for about two weeks. I first gave you a sneak peek, then shared the battle I had over the new bedding, created a homemade pillow, and then put together wall art with fabric and frames.
Before I show you what it looks like now, let's rewind to the very beginning...
Then came makeover number one in the summer of '09...
Now here it is January 2011...
On the window sill I put together a few books, metal letters, and a small vase with some flowers. I added some height with a picture that I made. It consists of newspaper and a few maps placed over some cardboard. I chose maps that had personal meaning to us. They are: Germany - our first trip to Europe together, Pennsylvania - where we met, and then Washington DC - where we live now.
Grand Total: $87.36
Not too shabby.
Before I show you what it looks like now, let's rewind to the very beginning...
Then came makeover number one in the summer of '09...
Now here it is January 2011...
On the window sill I put together a few books, metal letters, and a small vase with some flowers. I added some height with a picture that I made. It consists of newspaper and a few maps placed over some cardboard. I chose maps that had personal meaning to us. They are: Germany - our first trip to Europe together, Pennsylvania - where we met, and then Washington DC - where we live now.
There's the trunk I bought off craigslist. I decided to keep it the original color and placed it at the foot of the bed for some added color and storage in the room. It holds extra blankets and sheets and keeps our pillows off the floor when we go to bed.
So there you have it. It was very hard to photograph. It was so bright this morning and then a bit dark this afternoon. I tried my best to get the ideal lighting. Now for the price.
Here's what I bought:
- Duvet cover: $67.00
- Grayish/Blue pillow: $8.00
- Wall Art: $12.36
- Curtains:
$29.00, free with gift card
Grand Total: $87.36
Not too shabby.
That's how our room looks today. I really am pleased with the outcome. We'll see how long it stays that way before I decide to change it again. ha. I do love me a good makeover.
Sunday, May 9, 2010
Flower Pot: Before and After
My Valentine's gift this year was a pretty, purple, petite orchid. This is my first orchid and I am happy to say she is still alive and growing! However, I noticed the other day that the plant was quickly out growing the pot.
Here is the original pot and the roots busting at the seems.


So Saturday, JD and I went to Home Depot on the hunt for a new pot and soil. Little did we know, orchids have their own special pots and soil. The pot must have a hole in the bottom for proper draining and their is soil especially made for orchids. Maybe this is common knowledge but we know next to nothing about plants, gardening, etc.
Here is the special orchid soil. I have enough to last me a lifetime.
So for $5.83 we had what we needed.
I didn't think about it until we got home but the clay color pot was boring and was quite ugly on our window sill. I had just the idea to liven that baby up.
I went back to this post I stumbled across a few months ago. With a few adjustments, I was ready to paint my pot.
Here it is BEFORE:
In the post above, they suggest sealing the pot with water concealer. Water can seep through clay and ruin the paint. In attempt to spend as little money as possible I went with a craft sealer I already owned. Now it doesn't say if it is water proof, but I was willing to take my chances.
So I gave the whole pot, inside and out, a good spray. I sprayed the outside to hopefully help with the painting (more on that later).
After it dried, I was ready to paint. I actually didn't paint until the next day but after 2 hours you should be ready to go. The best paint to use on clay is high gloss exterior latex paint. However, since my pot is staying indoors and I did NOT want to spend money on new paint, I used acrylic paint I already owned. I knew this could cause potential problems but again I was willing to try.
So as you can see, one coat did not work...
So I waited until it dried (30 minutes) and gave it another coat.
After another paint job and some soil, here is the new and improved pot and plant...


If you are lucky enough to have a front porch, back porch, or anywhere outside to display plants, I suggest you tackle this project. It is very fun and easy, plus bright colors can really spice up an outside area. Or if you are like me and live half underground (bottom level condo), with no outside area to claim as your own, go for a little window sill pot. Not liking the green and purple? Go for all yellow like in the post here or red, orange, or any color of the rainbow. The choices are endless.
Summer is coming...happy painting!
Here is the original pot and the roots busting at the seems.
So Saturday, JD and I went to Home Depot on the hunt for a new pot and soil. Little did we know, orchids have their own special pots and soil. The pot must have a hole in the bottom for proper draining and their is soil especially made for orchids. Maybe this is common knowledge but we know next to nothing about plants, gardening, etc.
Here is the special orchid soil. I have enough to last me a lifetime.
I didn't think about it until we got home but the clay color pot was boring and was quite ugly on our window sill. I had just the idea to liven that baby up.
I went back to this post I stumbled across a few months ago. With a few adjustments, I was ready to paint my pot.
Here it is BEFORE:
So I gave the whole pot, inside and out, a good spray. I sprayed the outside to hopefully help with the painting (more on that later).
So as you can see, one coat did not work...
After another paint job and some soil, here is the new and improved pot and plant...
Summer is coming...happy painting!
Thursday, April 1, 2010
Caitlin's Master Bedroom: Before & After
I am back with my 2nd spring break post. I had the lovely opportunity to help my friend, Caitlin, completely transform her master bedroom.
She said, "I am so sick of my boring room. I can't sleep at night, and want a bedroom where I can relax. I want something fresh, clean, and soothing."
So here is Caitlin's room BEFORE:
This view is from the doorway.
This is inside her room looking from the bathroom (It's important to know so you can see how we flipped the bed in the after photos).
So how did we do it??
Here's the run down...
She pretty much gave me free range with colors, layout, and design. The only thing she had were the mocha colored sheets (a Christmas present from her mom that she kept in the package awaiting our big makeover).
I thought a light blue wall color would be perfect for a calming retreat. After a couple of flips through the paint book we decided on Optic Blue from Duron.
Day 1-Shop Shop Shop
We went to almost every store between Damascus and Germantown. About 5 hours later, we got almost everything we needed. That night she and her hubby painted the room and repainted the trim for a crisp, new look.
Day 2-Put it all together
With a few more stops to purchase the blinds and coverlet, we were finished with our purchases. Back to the ranch or farm I should say (she owns 2 sweet Golden Retrievers and 2 not so sweet cats :) to complete our masterpiece.
Tiko and Tug watched the entire time.
As you can see the cats continued to walk on the new, freshly dusted furniture leaving the evidence behind. The cause of a few good laughs.
Back to the transformation.
After we hung the blinds, set up the furniture, hung the artwork, made the bed, fluffed the pillows, and vacuumed, we stepped back to admire the beautiful transformation.
Here is Caitlin's bedroom AFTER:
This is the same view as the 1st before picture. The view from the doorway. We flipped the bed to the other side of the room.


At the foot of the bed is this gorgeous new dresser (not a planned purchase, but how can you pass up such a beauty?) This is where the bed sat before. They plan to hang the mirror just above the dresser once they get some wire.

Close up of the new bamboo roman shade blinds.
Isn't that the perfect color scheme for relaxation? The room looks so much bigger. The coolness of the light blue is complimented by the warm shades of brown. I love the white trim against the blue walls and the clean lines provide a contemporary feel. The artwork and accessories finish the room making it cohesive and complete. This is my favorite make-over to date.
So how much muh-la did we spend?
Price Breakdown
Not too bad for a complete, head to toe, or paint to furniture make over. Especially since the $300 dresser was an extra included expense.
I'm sure Caitlin will have a much easier time falling asleep in her newly renovated master bedroom.
She said, "I am so sick of my boring room. I can't sleep at night, and want a bedroom where I can relax. I want something fresh, clean, and soothing."
So here is Caitlin's room BEFORE:
So how did we do it??
Here's the run down...
She pretty much gave me free range with colors, layout, and design. The only thing she had were the mocha colored sheets (a Christmas present from her mom that she kept in the package awaiting our big makeover).
I thought a light blue wall color would be perfect for a calming retreat. After a couple of flips through the paint book we decided on Optic Blue from Duron.
Day 1-Shop Shop Shop
We went to almost every store between Damascus and Germantown. About 5 hours later, we got almost everything we needed. That night she and her hubby painted the room and repainted the trim for a crisp, new look.
Day 2-Put it all together
With a few more stops to purchase the blinds and coverlet, we were finished with our purchases. Back to the ranch or farm I should say (she owns 2 sweet Golden Retrievers and 2 not so sweet cats :) to complete our masterpiece.
Back to the transformation.
After we hung the blinds, set up the furniture, hung the artwork, made the bed, fluffed the pillows, and vacuumed, we stepped back to admire the beautiful transformation.
Here is Caitlin's bedroom AFTER:
This is the same view as the 1st before picture. The view from the doorway. We flipped the bed to the other side of the room.
At the foot of the bed is this gorgeous new dresser (not a planned purchase, but how can you pass up such a beauty?) This is where the bed sat before. They plan to hang the mirror just above the dresser once they get some wire.
Close up of the new bamboo roman shade blinds.Isn't that the perfect color scheme for relaxation? The room looks so much bigger. The coolness of the light blue is complimented by the warm shades of brown. I love the white trim against the blue walls and the clean lines provide a contemporary feel. The artwork and accessories finish the room making it cohesive and complete. This is my favorite make-over to date.
So how much muh-la did we spend?
Price Breakdown
- 2 nightstands $140.00
- Dresser $300.00
- Artwork $50.00
- 2 lamp bases $40.00
- 2 lamp shades $ 34.00
- Mirror $19.99
- 2 square decorative pillows $40.00
- 2 king size pillows $26.00
- 2 white king pillow cases $18.00
- Accessories $20.00
- Coverlet after 20% off $105.00
- 2 Bamboo roman shade blinds- $50.00
- 1 gallon of paint $30.00
Not too bad for a complete, head to toe, or paint to furniture make over. Especially since the $300 dresser was an extra included expense.
I'm sure Caitlin will have a much easier time falling asleep in her newly renovated master bedroom.
Monday, March 29, 2010
Spring Cleaning: Closet Organizing
I love SPRING for many reasons. The warm weather, the blooming flowers, and Spring Break!
With a break from school, I have a few simple house projects planned for the week. Stay tuned for blog posts to follow each project. The first little project I tackled was cleaning and organizing one of our bedroom closets. It was very easy. The biggest hurdle was finding the time and energy to solve our messy closet problem. I've been meaning to organize this closet for awhile.
Take a look at the messy and I'm embarrassed to say before picture:
During:
After:
In my basket I am storing all my scarves and bathing suits.
To provide more shoe space, I purchased a cheap rack from Walmart.
- 2 baskets from Tjmaxx- $16.64
- 1 shoe rack from Walmart -$12.50
- Organizing- Free
- Folding- Free
A love opening the door to see a fresh, clean closet.
Do you dare to face your dreaded closet?? I promise you will feel very refreshed.
Subscribe to:
Posts (Atom)